

What Is Web App Design? Process, Principles & Guide (2026)


Web apps are experiencing a surge in popularity, and Apple’s recent decision to support Home Screen web apps in iOS 17.4 is a testament to this trend.
According to research, the global web application market is projected to reach about $61.24 billion by 2030 and it is growing at 8.3% annually.
Web apps are extremely popular because they bridge the gap between traditional websites and mobile apps.
They offer the accessibility and versatility of a website, combined with the functionality and responsiveness of a mobile app.
However, designing a web app that truly impresses users is not without its challenges.
- Unlike native apps or desktop websites built for a specific platform, web apps need to perform flawlessly across a vast array of devices and browsers.
- This makes it tricky to create a universally interactive and seamless user experience.
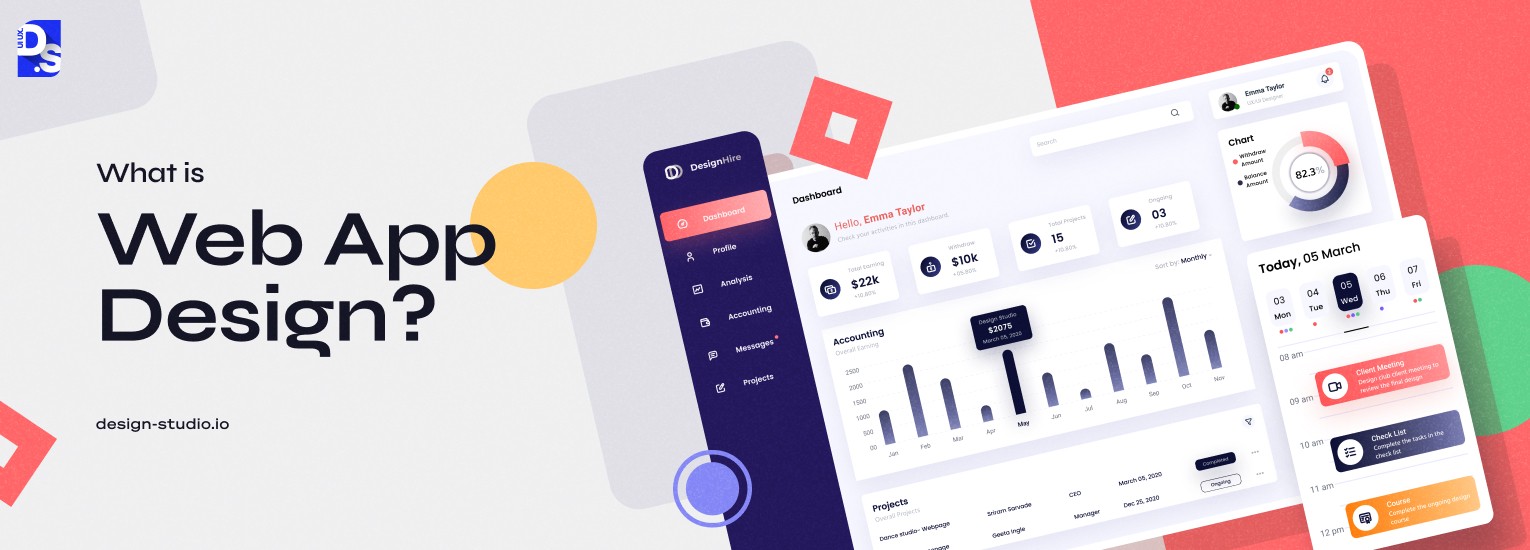
What is Web App Design?
Web app design is the process of crafting a seamless web app experience that simplifies how users interact and complete tasks.
It links UX usability with UI visuals to deliver a seamless experience on every device.
The concept addresses real user needs and ultimately creates an interface that is clear, visually appealing and easy to navigate.
Take Slack as an example. They realized that their target users (remote and hybrid workers) wanted a dynamic way to communicate and collaborate in the new workplace for rentals. Their solution?
An interactive web app with a clean, uncluttered interface that helps teams stay organized and connected, even as they juggle multiple channels and conversations.
By deeply understanding their target audience and their needs, Slack was able to create a web app design that puts the user first, anticipates their needs, and delivers a frictionless experience.
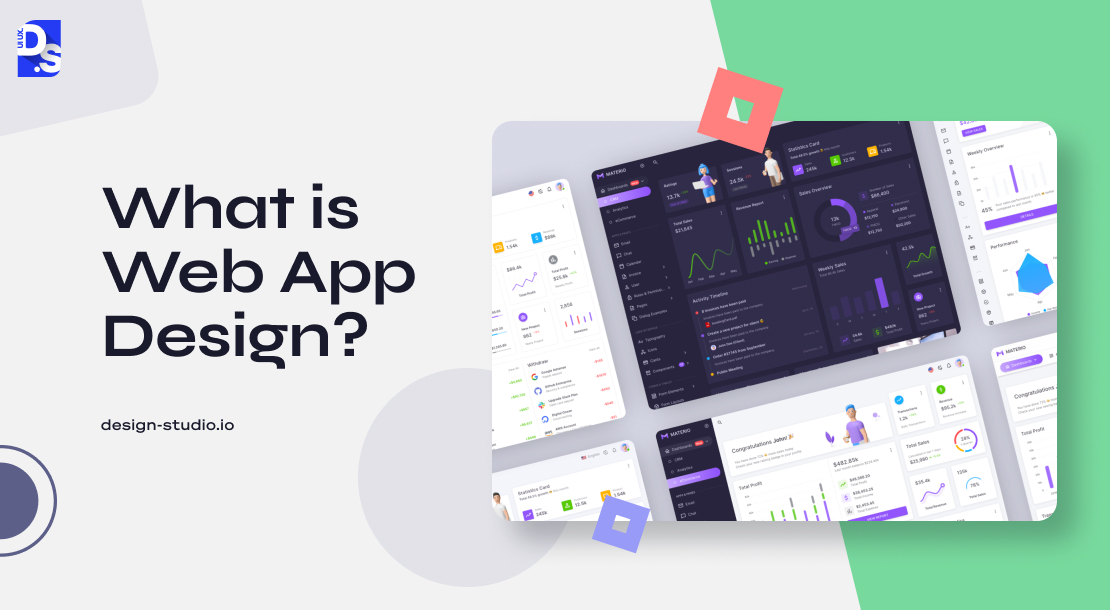
Creating web apps is about bridging the gap between what users need and how the app delivers it.
- This means conducting thorough user research.
- Defining clear design goals.
- Prototyping and testing iterations.
- Continuously refining the design based on user feedback.
It is a cyclical process that requires deep empathy for your target users.
What Are The Principles of Effective Web App Design?
When designing a website, follow these points for better usability:
- Clarity over cleverness: Users should never have to guess what an element does. Every button, icon, and label must communicate its purpose instantly, even on first visit.
- Consistency: Navigation, typography, color systems, and interaction patterns must behave the same way across every screen. Consistency reduces cognitive load and builds user trust over time.
- Responsiveness: A web app must work flawlessly across desktop, tablet, and mobile. Design mobile-first, then scale up, not the other way around.
- Performance-aware design: Heavy animations, complex layouts, and large unoptimized images can affect speed of the digital product. According to a report, a 1-second delay can reduce conversions by around 7% .
- Accessibility (WCAG 2.1): Design for all users, including those with visual, motor, or cognitive differences.The minimum requirement is to have distinct focus indicators, meaningful alt text, keyboard navigation, and sufficient color contrast.
What Is Web App Design Process: 7 Steps Overview
The web app design process is a structured sequence of seven stages, moving from user research to a tested final product.
Skipping any of these stages can cause usability issues and result in poor user experience.
Designing a highly interactive web app that works seamlessly across multiple devices, and offers users all the features they need without overwhelming them with information is no easy feat.
By following a flexible, user-centric design process, you can create a web app that keeps your customers coming back for more.
Here’s a 7-step process to streamline your web app design workflow and help you create an amazing product that always delivers top-notch user experiences:
- Step 1. Discover Project, User, and Market Needs
- Step 2. Turn Insights into Action: Define Your Solutions
- Step 3. Create a Backlog
- Step 4. Wireframing
- Step 5. Design
- Step 6. Launch
- Step 7. Test
Stages of Web App Design Process
This framework will help with structuring the design process and keep it focused on core user needs at every stage.
Remember: this process is not a rigid one-way street. You might revisit steps or adjust the order based on your unique workflow and the insights you gather along the way.
Step 1. Discover Project, User, and Market Needs
Discovery is one of the most important steps in building a web app. It can guide every choice you make and help you understand:
- who you are designing for,
- what problem you are solving, and
- where you fit into the market.
Before diving headfirst into design, successful web apps start with a deep dive into who they are actually building for, i.e. the users.
This first step is about gathering intel on your target audience and the market landscape.
Think of it as a detective mission to uncover user needs and identify the problems your web app will solve.
Here’s how it works:
- Initial Briefing: A thorough briefing with the client sets the stage. It outlines project goals, transfers vital information, and allows the design team to grasp the project’s scope and complexity. Think of it as the first project roadmap that keeps every client and team member on the same page from research to launch.
- Understanding Your Users’ World: Start asking key questions:
– Who are our users? What are their needs and goals?
– How does this app fit into our company’s objectives?
– What makes us stand out from the competition?
– What device are they on? What’s their internet connection like? Are they focused or distracted?
These contextual factors, while not always measurable, will play a big role in deciding what type of user experience you want to deliver. - User Research: Understanding targeted user’s problems and planning out desired solutions is the next step.
– Use one-on-one interviews or feedback surveys to gather user insights.
– Uncover user demographics, pain points, and market opportunities.
According to a NNG report, about 80% product teams that conduct thorough user research see higher post-launch satisfaction.
By starting the design process with a comprehensive briefing and user-centric research, you lay the groundwork for a web app that successfully meets both user and business needs.
Step 2. Turn Insights into Action: Define Your Solutions
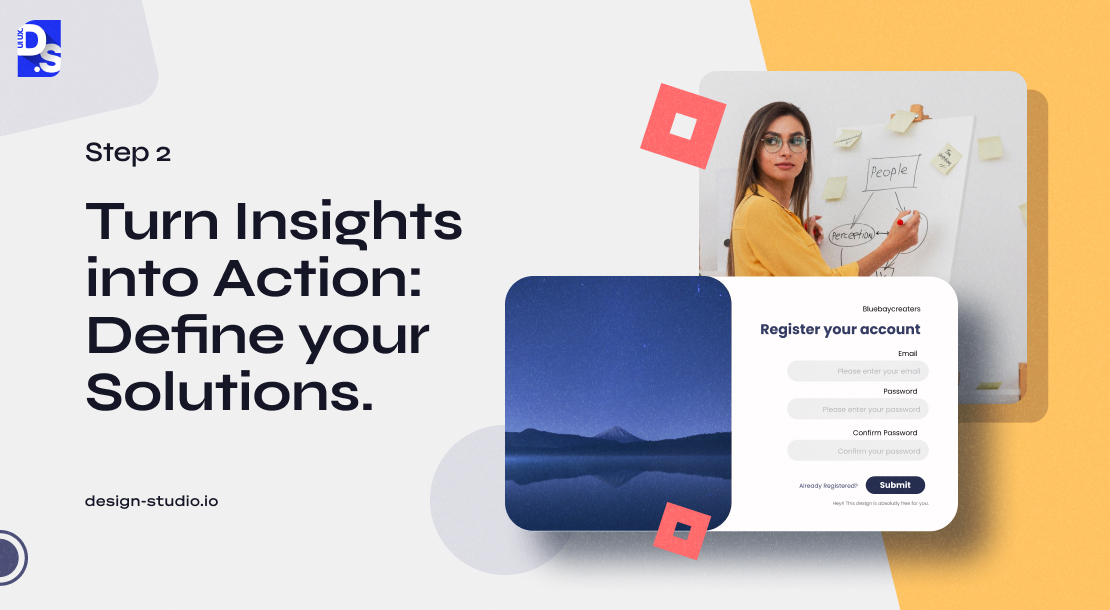
Step 2 takes initial research and builds a strategy. This is where you can translate user requirements into design choices like ideal user types/personas, user journeys, and a prioritized feature list.
When you know your users and market through research, translate that knowledge into a design plan. Start by creating user personas i.e. detailed profiles of your ideal target users based on real demographic data.
These profiles will give you a deeper understanding of their needs and motivations.
Clarify the core issues your web app aims to solve for these users.
Then, map out an ideal customer journey, visualizing how users will interact with your app from start to finish.
Get creative and brainstorm web app features and elements that address your users’ needs.
For example, Airtable is a web app that merges the familiar grid layout of web apps with complex, spreadsheet-based databases.
By combining these two paradigms into an intuitive, user-friendly interface, Airtable has made managing complex data structures accessible to a wide audience.
The web app is now competing with established tools like Microsoft Excel for market share by offering a more visual, collaborative approach to data organization and analysis.
Many other web app design examples demonstrate how innovation can disrupt traditional software categories.
While innovating is fine, consider incorporating some well-established web app UI design patterns into your work as well.
Consistent navigation, clear calls-to-action, and intuitive data entry forms are just a few of the UI elements that users expect to find in a well-designed web app.
Deviating too far from these conventions can create unexpected friction and make your app trickier to use:
- Navigation: Avoid overly complex or unconventional navigation structures. Use clear labels for each app section and offer clear pathways to all major sections via a single, easy-to-access menu.
- Simple Form Design: Sign-up, registration, checkout, and search forms should feel simple. Stick to familiar, easy-to-use form layouts.
- Search & Filtering: Common design patterns that assist new users in finding what they need fast include explicit search, auto-complete, dynamic search, and saved/recent search. Use these patterns to leverage users’ existing mental models for how search should work.
As you develop your UI design plan, keep these best practices in mind as well:
- Use plenty of negative space (empty areas) to avoid a cluttered feel.
- Use red sparingly, and reserve it for error messages and warnings.
- Make hyperlinks stand out with a distinct color, like blue.
- Give buttons a raised or shadowed appearance to make them clearly clickable.
- Ensure your design is responsive and adapts seamlessly across different devices.
By the end of this step, you might have a massive list of ideas, but not everything can be added to your design at once. Prioritize each design feature/idea by grouping them into the following categories:
- Urgent and Important: Design features/ideas that are essential for your app’s core functionality.
- Urgent but Not Important: Important design features that can drastically enhance your web app’s current UX but aren’t deal-breakers in the long run.
- Important but Not Urgent: Design features that would be nice to have but can wait for future updates.
- Not Urgent and Not Important: Design features that don’t align with current goals or user needs.
This is the Eisenhower Decision Matrix: a powerful tool for prioritizing design ideas based on their importance and urgency.
Step 3. Create a Backlog
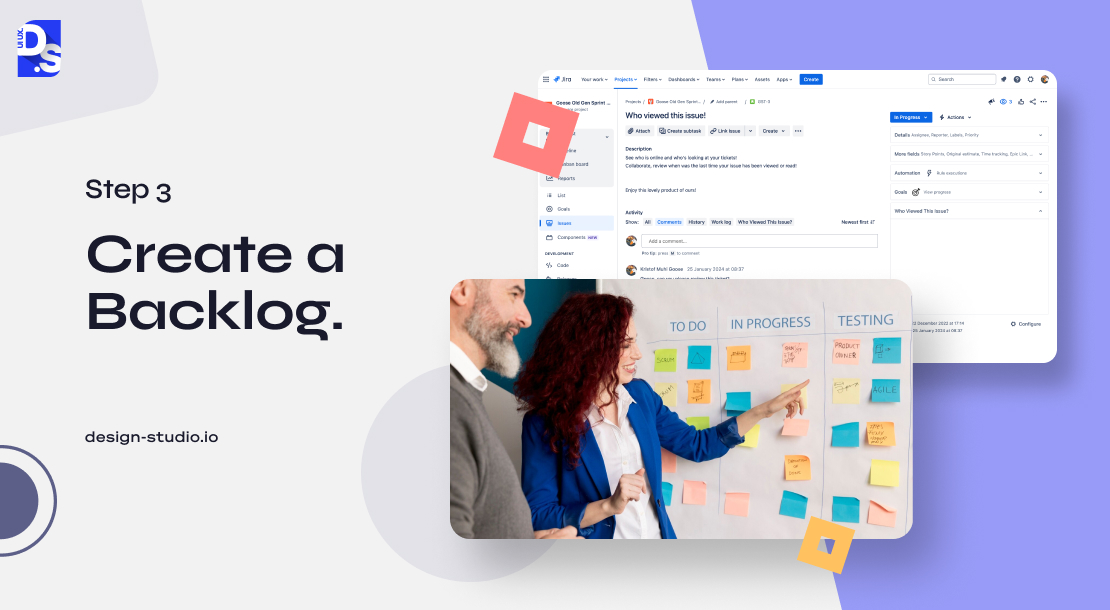
A backlog acts as the single guide which includes a list of pending tasks, bug fixes and feature requests.
Basically, it takes your best ideas and turns them into a clean, shared to-do list for designers and developers (in correct order).
So, you have nailed your web app solutions and prioritized features. Map out the design journey with a ‘backlog.’
A ‘backlog’ details all the work that needs to be done, from new design features, updates to existing features, bug fixes, and infrastructure optimizations.
Here’s what makes a winning backlog:
- Prioritize:Sort tasks according to their importance and urgency using a system such as the Eisenhower Matrix. Focus on delivering the most user-valuable items first, based on solid research to measure success.
- Involve the Whole Team: Do not create the backlog in isolation. Collaborate with all designers, developers, product managers, and other stakeholders. Their diverse perspectives will strengthen the backlog and ensure its fair implementation across the team.
- Timeline: Estimate the time needed for each design task. This is just an estimate, resources and project scope can always change. Communicate this clearly to stakeholders.
- Communication: Keep the lines of communication always open between designers and developers. Regular check-ins ensure everyone’s on the same page, anticipate roadblocks, and encourage participation from everyone involved.
- Transparency: Regularly update stakeholders on the overall backlog progress and its impact on the final product.
Don’t get too caught down in the details. Leave room in your backlog for iteration and adaptation as you learn more through user testing and feedback.
Professional-grade web application design services are always cyclical, and your backlog should reflect that.
Step 4. Wireframing
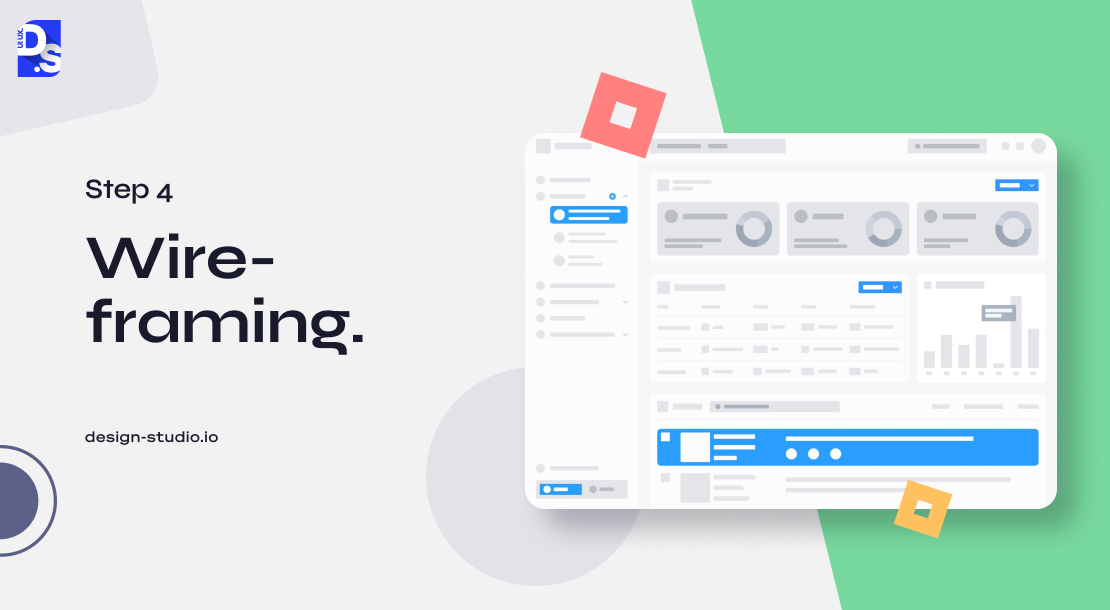
Wireframing is the process of mapping and validating abstract design ideas into concrete layouts.
Wireframe is basically a rough sketch of app’s screens with which you can test navigation flow and structure of the website design layout before you spend time or money on visual design.
Once the information architecture and user flows have been mapped out, the next step is to create wireframes. It is basically a visual representation of the web app’s layout and structure.
This is an important intermediate step between the initial planning and the final user interface (UI) design due to the following reasons-.
- Wireframes allow us to test the waters before diving headfirst into design.
- It is a cost-effective way to validate the information architecture and user flows and gather valuable feedback from stakeholders and users.
- By visualizing the app’s structure and functionality, we can also select the right programming languages, frameworks, and tools needed to bring it to life.
According to data, if you fix a usability issue in the initial wireframing stage, it will cost you around 100x less compared to fixing any UX problem after development.
Step 5. Design
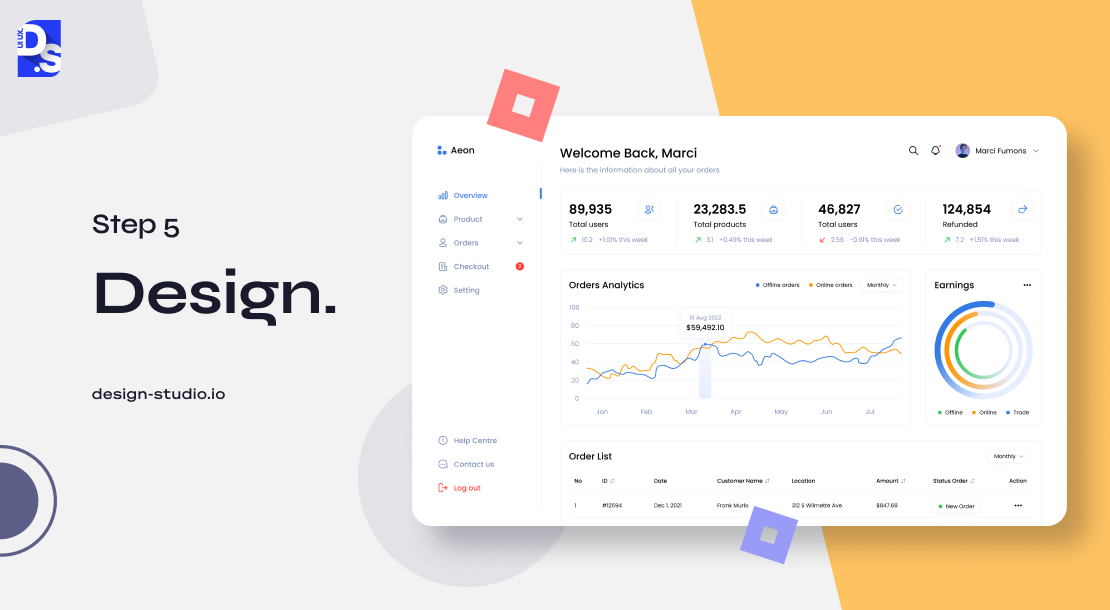
App design is all about how it works, not just how it looks. The best layouts come from testing early prototypes on real users and then you can refine the user experience based on users’ reactions.
Now comes the exciting part: putting your ideas in front of real users!
Begin with basic mockups, wireframes, and prototypes that map out the core user experience and navigation.
Test these early concepts with potential users. Get their honest opinions and incorporate their feedback as you refine the design.
After completing two or three rounds of designing and iterating, finalize your web app’s visual design, branding, information architecture, user flows, and navigation tools.
But user testing should not stop after you have finalized these aspects of your app’s UI. Keep finding ways to make the UI more intuitive and engaging for users.
Step 6. Launch
A successful launch is a multi-step process instead of a one-time product event.
Doing a soft launch for a limited audience reduces risk of critical technical issues before opening the doors to the public.
This lets you test the waters, identify bugs, and make tweaks before a full-scale release. Think of it as a test drive before hitting the highway.
Gradual app rollouts help identify critical issues before the official release.
Once users get their hands on your app, the real learning begins. They provide valuable feedback, find areas for improvement, and highlight features they prefer.
Step 7. Test
Testing in web app design is not a final checkbox, it’s an ongoing practice. Every update, new feature, and design change should go through the same testing disciplines that launched the original product.
The journey does not end with designing and launching. Successful web design is all about continuous improvement, and that is where testing and optimization come in.
By constantly seeking user feedback and analyzing their behavior, you can make data-driven decisions to keep your app delightful and effective.
- Performance Check: Web app users are on a mission, so ensure your app loads fast, responds quickly, and avoids crashes or downtime. Use tools like Google PageSpeed Insights, Lighthouse, and Pingdom to monitor key website performance metrics like load times, server response, and uptime.
- Gather User Feedback: Actively solicit feedback from your users through surveys, user interviews, and usability testing.
- Behavior Behind the Clicks: Implement user tracking and analytics tools like Hotjar, Google Analytics, and Mixpanel to gain deep insights into how users are actually interacting with your web app.
– Observe common user flows and identify pain points.
– Uncover opportunities to enhance the experience.
– This bridges the gap between what users say about the app in surveys and what they actually do. - A/B Testing: Imagine having multiple versions of a page or feature, testing them with real users, and seeing which one performs better. That’s the magic of A/B testing. It is a must-have tool for your design team. Use it to constantly add or remove design features and elements from your web app.
Data suggests conducting A/B testing and updating your website’s layout increases your average conversion rates (sales or sign-ups) by around 12% to 28%.
By continuously testing, monitoring, and optimizing based on user insights, you ensure that your web app’s design stays fresh, engaging, and effective in the long run.
Now, let’s address some frequently asked questions about the web app design process.
What Tools are Popular among Web App Designers?
Some of the best tools for web app design process in 2026 are:
- Research & Discovery: Maze, Google Analytics, UserTesting, Hotjar
- User Flows & IA: Whimsical, Miro, FigJam
- Wireframing & Prototyping: InVision, Adobe XD, Balsamiq, Figma (industry standard)
- Visual UI Design: Figma, Framer, Sketch
- Developer Handoff: Figma Dev Mode, Storybook, Zeplin
- User Testing: Maze, UsabilityHub, Hotjar, Lookback
How Long Does Web App Design Take?
The timeline of web app design can vary based on scope, team size, and number of iterations.
- Discovery and Research Phase (Step 1): 1–2 weeks
- Define Solutions and Backlog (Steps 2–3): 1–2 weeks
- Wireframing (Step 4): 1–3 weeks
- Visual Design (Step 5): 2–5 weeks
- Launch and Testing (Steps 6–7): 2–4 weeks + ongoing
For simple web apps, it can take somewhere between 6 to 10 weeks in total, and for complex SaaS products, the timeline can go from 4 to 6 months or more.
Web App Design vs Website Design vs Mobile App Design
Web apps, websites, and mobile apps serve different purposes and they all follow different design process.
Website design mainly focuses on showing information layouts for desktop and mobile browsers whereas web app design structures complex interactive tasks inside a browser window.
On the other hand, mobile app design brings together features for phones to improve UX on small screens.
- Websites – These digital brochures guide users towards specific actions, like making a purchase or signing up for a service. Websites typically offer static pages and an open flow, allowing users to browse freely but not interact with too many dynamic design elements.
- Web apps: These dynamic online applications allow users to perform tasks and manipulate elements in a highly interactive way. Users have to follow particular paths based on the specific actions they want to complete, rather than just browsing content. Web apps require a stronger focus on responsive design that delivers a seamless user experience across a wide range of browsers/devices.
- Native mobile apps: These custom-built apps are designed for a specific mobile operating system (iOS or Android). Unlike web apps, they can leverage the device’s built-in features, like the camera or GPS, to deliver highly immersive user experiences.
Ultimately, all three of these digital products aim to deliver intuitive and engaging experiences to users.
However, understanding their key differences is crucial for crafting a successful Web app design process.
Why Does a Structured Web App Design Process Matter?
A structured web app design process can help avoid project delays and costly design reworks. If you separate stages like planning, wireframing, and visuals, you can easily eliminate subjective changes.
This ensures the final product closely matches what users need.
A good process for designing web apps keeps everyone on the same page.
- It ensures everyone from designers to developers understands the project goals, target users, and how users will interact with the app.
- This translates to smoother communication and a clear vision for the final product.
- A structured process also helps identify usability issues before they become expensive roadblocks later in development. This saves you time, money, and headaches.
A good web app design process is basically the secret to create a successful tool/digital platform. The steps mentioned above will help you design any simple tool or complex SaaS platform perfectly. It will keep the entire design process on track while always putting your users first.
Conclusion
A strong design process is the foundation of any successful web app. These 7 steps design process provide a user-friendly and repeatable plan to keep your team on track.
For more in-depth guidance on implementing a best-in-class web app design process, partner with Design Studio UI/UX design agency. We work closely with our clients to deliver web app experiences that drive business success!